
Last updated October 17, 2026
 Wrought iron
 Wood & steel frame
 Farm & ranch
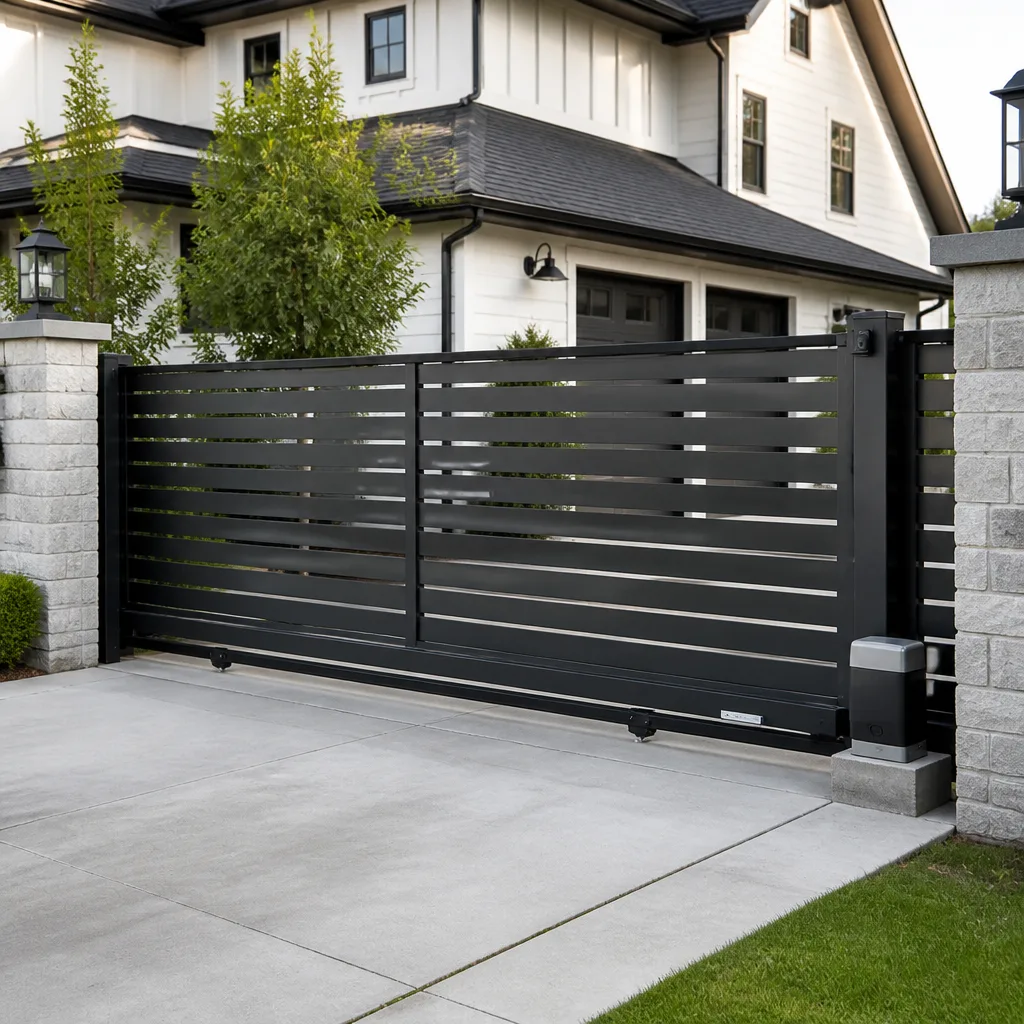 Sliding driveway gates
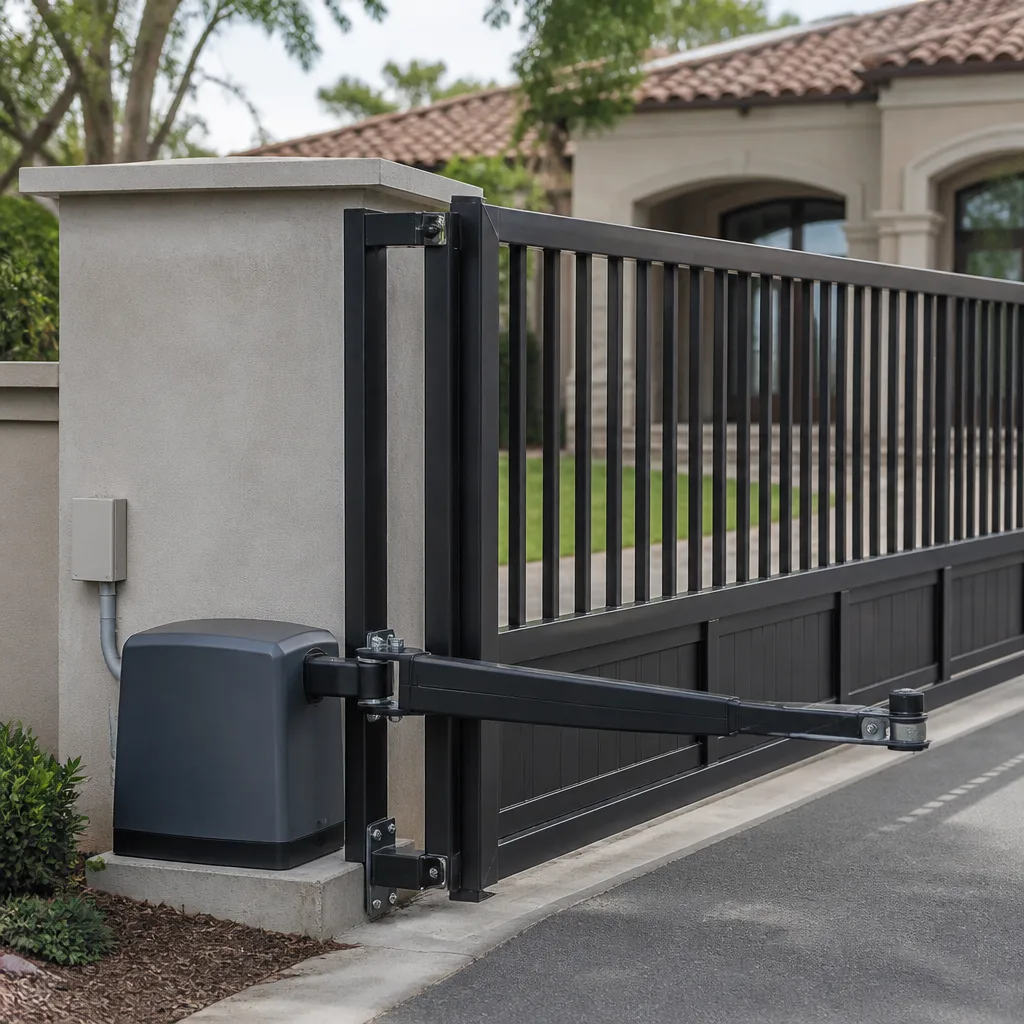 LiftMaster operators
Free on-site gate assessment - hinges, posts, and your LiftMaster or Nice gate operator checked before anything is quoted
The assessment is free and the quote is the invoice.
Get your free estimateGate Repair Maintenance Checklist for San Francisco Homeowners
A homeowner in the Sunset District and a homeowner in Bernal Heights can own the same cedar gate installed the same year, and by year three, one gate will need a full bottom-rail replacement while the other needs only a latch adjustment. The difference is fog exposure, not gate quality. This guide replaces the generic one-size-fits-all checklist with something San Francisco actually requires: zone-specific inspection tasks tied to your neighborhood’s microclimate, the four checkpoints that predict most repair calls, and a seasonal log you can hand to any technician so they see trends instead of a single-visit snapshot. We’ve spent years watching which components fail first in each part of San Francisco, and we’ll show you exactly what to check, when to check it, and what to leave alone.
Styles & brands we work with
Quick Answer
A San Francisco gate maintenance checklist should be built around your neighborhood’s fog exposure, not a generic seasonal calendar. Homeowners in high-fog zones like the Outer Sunset or Richmond need to inspect and reseal wood gates every 4 to 6 months, while Mission or Noe Valley homeowners can often go 10 to 12 months between sealant applications. The four checkpoints that matter most on any gate are hinge gap, latch throw depth, bottom-rail moisture, and post plumb. We’ll walk through each one below.
Table of Contents
- The Neighborhood Exposure Map: What Your Address Dictates
- The Four Checkpoints That Predict 80% of Repair Calls
- The Seasonal Inspection Routine, Step by Step
- Sealing Wood Gates: Products, Intervals, and Real Costs for San Francisco Fog
- What You Can Safely Inspect Yourself vs. What Needs a Specialist
- The Seasonal Log Template: Why Trends Beat Snapshots
- Electric Gate Considerations for San Francisco Hills and Salt Air
- Common Mistakes to Avoid
- When to Call a Professional
- Frequently Asked Questions
- The Bottom Line
The Neighborhood Exposure Map: What Your Address Dictates
San Francisco doesn’t have one climate. It has a dozen microclimates stacked on top of each other, and your gate sits inside one of them every day of the year. The west side of the city takes the brunt of Pacific fog, salt-laden wind, and moisture that never fully burns off. The east side gets more sun, more dry heat, and a different set of problems entirely. Here’s how exposure breaks down by neighborhood and what it means for your gate:
- Outer Sunset and Outer Richmond: The harshest gate environment in San Francisco. Persistent fog means wood never fully dries, so bottom rails, hinge mortises, and post bases absorb moisture year-round. Expect to inspect every 3 to 4 months and reseal every 4 to 6 months. The hardware component most likely to fail first: the bottom hinge, which carries both the gate’s weight and constant salt-air corrosion. In the Outer Sunset, we regularly see hinge screws loosened not by gate use but by the wood around them expanding and contracting with fog cycles.
- Inner Sunset and Inner Richmond: Moderate fog with longer dry spells. Inspection every 4 to 6 months is sufficient. The component to watch: latch throw depth, because these neighborhoods see more daily gate cycles (higher foot traffic to transit corridors) and the latch wears faster than the hinges.
- Noe Valley and Bernal Heights: Sun exposure is real here, which means wood gates dry out and shrink. Cracks in the upper rail and stiles appear faster than in foggy zones. The component most likely to fail first: the top hinge, because the wood compresses as it dries and the gate sags into the latch side. Inspect every 6 months.
- The Mission and Potrero Hill: Warm, dry, and often windy. Dust and grit accumulate in hinge pins and latch mechanisms, accelerating mechanical wear. The component to watch: the latch itself, which gets gritty and stiff. Inspect every 6 months, and wipe the latch mechanism clean quarterly, even if nothing looks wrong.
- SOMA and Downtown: Less fog, less salt, but more vibration from traffic and BART lines if you’re near a tunnel. Gate posts set in concrete can shift slightly over time from ground vibration. The component to watch: post plumb. Check it every 4 to 6 months with a level.
The takeaway is simple: the same gate in two San Francisco neighborhoods needs different care. If you’re not sure which zone applies to your home, err toward more frequent inspection. The cost of checking is a few minutes; the cost of a missed bottom-rail failure is a full replacement. Our Latch and Post Gate Repair San Francisco home details how we assess exposure zone when we arrive for any service visit.
The Four Checkpoints That Predict 80% of Repair Calls
After years of repair work across San Francisco, we’ve found that four physical measurements on a gate predict the vast majority of future failures. If these four checkpoints look good, your gate is probably healthy. If one of them is off, it’s a warning sign that a bigger problem is developing-see our Gate Repair Warning Signs: A San Francisco Homeowner’s Reference Guide for what to watch. Here’s what to measure and what the numbers mean:
Checkpoint 1: Hinge Gap
The hinge gap is the space between the gate’s hinge-side stile and the post it hangs from. On a properly hung gate, this gap stays consistent from top to bottom. If the gap is wider at the top than the bottom, the gate is sagging. If it’s wider at the bottom, the gate is lifting. Either condition means the hinge hardware or the wood around it is failing. You can check this with nothing more than your eyes: stand back and look at the gap along the hinge line. If it isn’t a straight, even line, something is wrong. In San Francisco’s fog zones, hinge gap opens up most often because the wood holding the hinge screws has softened from moisture. The screw isn’t the problem; the wood is. Tightening the screw without addressing the moisture buys you a few months, not a fix.
Checkpoint 2: Latch Throw Depth
Latch throw depth is how far the latch bolt actually enters the strike plate or post. When a gate is new, the bolt seats fully. Over time, gates drift. The latch bolt that once entered a half inch now enters a quarter inch, and the gate can pop open in wind or when a dog leans against it. To check this, close the gate and look at where the latch bolt meets the strike plate. If you can see less than half the bolt inside the strike opening, your gate is one small shift away from not latching at all. This is the most common issue we find in Mission and Noe Valley gates, where dry wood shrinks and the whole gate shifts toward the hinge side.
Checkpoint 3: Bottom-Rail Moisture Reading
The bottom rail is the horizontal piece of wood at the base of the gate, and it’s the first part of any wooden gate to fail. It sits closest to the ground, catches splashback from rain and fog drip, and wicks moisture upward. You don’t need a moisture meter to get a useful reading: press your thumb firmly into the bottom rail on a dry day. If the wood feels soft, spongy, or gives at all, moisture has already begun to break down the fibers. If you see paint or sealant bubbling or peeling along the bottom edge, that’s moisture trying to escape. In the Outer Sunset and Outer Richmond, we see bottom-rail moisture issues on gates less than three years old. In the Mission, the same gate’s bottom rail might last a decade. The neighborhood matters.
Checkpoint 4: Post Plumb
Post plumb means the gate post is perfectly vertical in both directions: side to side and front to back. You check it with a level held against the post on two sides. If the post leans even slightly, the gate hangs off-angle and every other component works harder: hinges bind, latches misalign, and the gate drifts. In SOMA and other parts of San Francisco with street vibration from heavy traffic or transit lines, posts can shift out of plumb over several years even when the gate itself looks fine. A post that’s out of plumb by more than a quarter inch over the length of the post needs attention, not just the gate hardware.
These four checks take less than ten minutes total. We’ve built our Gate Repair in San Francisco approach around catching these four checkpoints early, because they tell you what’s failing before the failure is visible to anyone walking past.
The Seasonal Inspection Routine, Step by Step
Below is the quarterly inspection routine we recommend to every San Francisco homeowner. It’s designed for the person who isn’t a gate technician and doesn’t want to become one. Each step requires only tools you already own: your eyes, your hands, and a standard carpenter’s level. If you live in a high-fog zone, run this every 3 months. If you live in a drier, sunnier zone, every 6 months is usually enough.
- Stand back and look at the gate closed. Check the gap along the hinge line. Is it even? Check the gap along the latch line. Is it even? An uneven gap anywhere is the earliest sign of drift.
- Open the gate halfway and let go. A healthy gate stays where you left it. If it swings open or closed on its own, the hinges or the post have drifted out of alignment. Note which direction it swings: toward the latch means hinge sag; toward the hinge means the post is leaning.
- Close the gate and watch the latch. Does the bolt seat fully into the strike? Does the gate rattle when it closes? Can you push it open without turning the handle? Any of those means the latch throw depth has decreased.
- Press your thumb into the bottom rail. Do this on a dry day, not right after rain. Soft wood, visible cracks, peeling finish, or any give under pressure means moisture is working. Check the bottom rail in three places: center and both ends.
- Put a level on the gate post. Check both faces. If the bubble sits outside the lines, the post is out of plumb. Make a note of which direction it leans and roughly how far. This is useful information for a technician later.
- Check the hinge screws and latch screws. Don’t tighten them yet. Just check whether they’re visibly proud of the surface or if the wood around them looks cracked or discolored. Loose screws in soft wood are a symptom, not the disease.
- Write everything down in your seasonal log. Date, what you checked, what you found, and the weather that month. Over a year, this log tells a story that no single inspection can.
This entire routine takes about ten minutes. The point isn’t to fix anything; it’s to catch drift and moisture before they become structural problems. If you find something off, that’s where we come in, or where the specialist call comes in. We’ll address that decision in a later section.
Sealing Wood Gates: Products, Intervals, and Real Costs for San Francisco Fog
Wood gates fail from the inside out, and in San Francisco the inside is wet more often than most homeowners realize. Sealing is the single most effective thing you can do to extend the life of a wooden gate, but the product and interval depend on where you live. A sealer that works for three years in Noe Valley might break down in eight months in the Outer Richmond.
For High-Fog Zones (Outer Sunset, Outer Richmond, Presidio-adjacent areas)
- Product type: A penetrating oil-based sealer with UV inhibitors, not a film-forming paint or varnish. Penetrating sealers soak into the wood and allow it to breathe, which matters when the wood is cycling between wet and dry every day. Film finishes trap moisture behind the film and peel within a season.
- Recommended interval: Every 4 to 6 months, applied to the bottom rail, hinge-side stile, and any end grain. These are the surfaces that absorb standing fog moisture.
- Approximate annual cost: $35 to $55 for a quart of quality penetrating sealer at any San Francisco hardware store. You’ll use most of a quart over a year of touch-ups on a standard 4-foot pedestrian gate.
- What to watch: End grain on the bottom rail is the most absorbent surface on the gate. If you only seal one thing, seal the end grain.
For Low-Fog Zones (Mission, Noe Valley, Bernal Heights, Potrero Hill)
- Product type: A water-based exterior wood sealer with UV protection is fine here. The enemy is sun and dryness, not standing moisture. Water-based sealers are easier to apply and clean up, and they resist UV damage well.
- Recommended interval: Every 10 to 12 months, applied to all exposed surfaces with extra attention to the top rail and any surfaces that receive direct afternoon sun.
- Approximate annual cost: $25 to $40 for a quart of water-based exterior sealer. Less product needed because the interval is longer.
- What to watch: Hairline cracks along the top of the stiles and the upper rail. These are shrinkage cracks from sun exposure, and they’re where water enters during San Francisco’s winter rains.
One note that matters: sealing a gate that already has rot will not fix it. If your bottom rail is soft or your hinge screws won’t hold, sealing is closing the barn door after the horse left. The rot has to be addressed first, which usually means replacing the affected rail or section. If you’re wondering whether your gate can still be saved with sealing, check it using the thumb-press test from the seasonal routine above. If the wood gives, call a specialist before you spend money on sealer. Our Gate Installation in San Francisco page covers what a full replacement involves if it comes to that.
What You Can Safely Inspect Yourself vs. What Needs a Specialist
There’s a difference between inspecting your gate and working on it. Inspection is always safe for a homeowner and always useful. Repair is a different category, and knowing where the line sits protects you, your gate, and any warranty still in effect. For details on what’s legally required, read Gate Repair Permits, Codes & Inspections in CA: What You Need to Know. Here’s the breakdown:
Safe for a homeowner to do:
- All four checkpoints from the seasonal routine: hinge gap, latch throw depth, bottom-rail moisture, and post plumb. None of these require tools beyond your eyes and a level.
- Wiping down the latch mechanism with a dry cloth to remove grit. Dust and grit in the Mission and Potrero Hill are a real cause of stiff latches, and a dry wipe prevents most of it.
- Applying penetrating sealer to the bottom rail and end grain if your gate is in good condition. Sealing is maintenance, not repair.
- Tightening a hinge screw that’s slightly loose, provided the wood around it is solid. If the screw spins without gripping, stop. Do not use longer screws, wood filler, or adhesives. That’s a repair.
Requires a gate specialist:
- Any hinge repair where the wood has softened, split, or allowed the screw to strip out. The fix almost always involves removing the gate, repairing or replacing the wood section, and re-hanging the gate. This is skilled work, and it’s also the scenario where the gate can fall on someone if done wrong.
- Latch replacement or alignment that involves cutting into the post or stile. A latch that no longer catches isn’t a minor annoyance; it’s a security issue, and the fix requires tools and experience.
- Post resetting or replacement. A post that’s out of plumb has to be dug out, reset in concrete, and allowed to cure before the gate is re-hung. We’ve watched homeowners try to shim a leaning post with gravel, and the result never lasts through one winter.
- Any electric gate component: opener, sensor, keypad, control board. These systems carry high voltage and are wired into your home’s electrical system. The risk of injury from an electric gate repair gone wrong is real, and it’s not a place to learn by doing.
- Springs and tension components on commercial-style or self-closing gates. Springs under tension can release suddenly and cause serious injury. Leave them alone.
One warranty consideration: if your gate was installed or repaired under a 365-Day Done Right Promise, you don’t void coverage by inspecting. But a DIY repair attempt that fails might. When in doubt, make the call before you make the cut. The inspection is yours. The repairs are ours.
The Seasonal Log Template: Why Trends Beat Snapshots
A single inspection tells you what’s wrong right now. A log tells you what’s been changing over time, and that’s far more useful. When a technician shows up to a gate with a year of homeowner notes, the diagnosis is faster, the repair is more targeted, and the conversation is shorter. Here’s a simple quarterly log template you can copy into a notebook or a notes app:
Date: ______________
Neighborhood microclimate note: (foggy / dry / windy / rainy this quarter)

Hinge gap: even / uneven (describe: wider at top / wider at bottom / other)
Latch throw depth: full / partial / minimal (estimate how much bolt enters strike)
Bottom rail: firm / soft / cracked / peeling finish (note location: center / left / right)
Post plumb: level / leaning (note direction and approximate amount)
Hinge screws: tight / loose / spinning / wood soft around screws
Latch screws: tight / loose / spinning / wood soft around screws
Garage side or pedestrian side: (which gate you're logging)
Any new noises: grinding / squeaking / rattling / none
Anything else you noticed: ________________________________
Fill this out every quarter, even when everything looks fine. “Everything looked fine” is data. Over a year, you’ll have four entries that show whether your hinge gap opened suddenly or gradually, whether moisture appeared after a particular rainy season, or whether a noise started right after a windstorm. That’s the difference between a technician guessing and a technician knowing. We’ve had homeowners show us six months of logs, and it changed the diagnosis more than once. It also shortens the visit, which means less time at your home and less disruption to your family’s day.
If you have an electric gate, add one more line to your log: note any changes in how the opener sounds, how fast it moves, or whether the safety sensors behave differently from one quarter to the next. Electric gates give early warnings through sound and speed changes long before they fail outright.
Electric Gate Considerations for San Francisco Hills and Salt Air
Electric gates add a layer of complexity to maintenance, and San Francisco’s geography makes some of it worse. Hills mean the opener works harder. Salt air means connections corrode faster. If your gate has an operator from FAAC, Linear, or Viking, or a control system from BFT, a few extra monthly checks are worth doing.
Hills and Load
An electric gate opener on a flat San Francisco street does far less work than the same opener on a graded driveway in Diamond Heights or Pacific Heights. The motor has to overcome gravity every cycle, which means it runs hotter and wears faster. If you live on a hill, listen for changes in the motor’s sound. A motor that starts to strain or run longer than it used to is telling you something. The same applies to the gate’s physical hardware: a gate that’s slightly out of plumb on flat ground puts much more stress on an opener when that same drift happens on a slope. The four checkpoints matter more on hills, not less.
Salt Air and Connections
Homes west of Twin Peaks sit in salt air for part of every day, and salt air is rough on electrical connections. Corrosion at the terminal block, on the battery backup contacts, or on the photoelectric sensor lenses can cause intermittent failures that are maddening to diagnose. A homeowner in the Outer Richmond with a Viking opener will see terminal corrosion in three to five years. The same opener in Noe Valley might run a decade without corrosion. If you live in a fog zone and your electric gate starts behaving unpredictably, open the control box and look for white or green buildup on any connection. If you see it, the fix is a cleaning and possibly a connector replacement. This is specialist work, not a homeowner task.
Safety Sensors
All modern electric gates include safety sensors that stop and reverse the gate when something crosses the path. These sensors matter doubly in San Francisco because of the number of pedestrians, dogs, and children on the sidewalks. A sensor that’s dirty or misaligned might fail to detect an obstruction, and an electric gate that doesn’t reverse is a serious hazard. Wipe the sensor lenses with a dry cloth monthly. If the gate ever fails to reverse when you block the sensor path, stop using the automatic function and call a specialist the same day. For more detail on what electric gate repair involves, see our Electric Gate Repair in San Francisco page.
Common Mistakes to Avoid
- Using WD-40 on a gate latch. WD-40 is a solvent, not a lubricant. It cleans off old oil and then evaporates, leaving the latch drier than before. On a Mission District gate exposed to gritty wind, WD-40 actually attracts more dust after it dries. Use a dry silicone or graphite lubricant instead, and only a light touch.
- Painting over rot. Paint covers the symptom and accelerates the disease by sealing moisture inside the wood. If your bottom rail is soft, painting it will make the rot spread faster behind the paint film. Address the rot first, then paint if you want to.
- Tightening hinge screws in soft wood without fixing the wood. The screw will feel tight for a few weeks, then strip further as the gate sags with use. You’ve lost nothing but time, but you’ve also made the eventual repair slightly more involved because the screw hole is now enlarged.
- Ignoring a drifting gate because it still latches. Latch throw depth decreases gradually. By the time the gate stops latching, it’s been drifting for months or years. The seasonal routine above will catch this early. Most of the urgent repair calls we get in San Francisco start with a gate that stopped latching the previous week.
- Sealing a gate in January because rain is coming. Sealer doesn’t apply well to damp wood, and San Francisco winter wood is damp wood. The best sealing windows in the city are September and October, before the rains, and March through May, after the rains have dried. Outside those windows, you get poor penetration and shorter protection.
- Assuming all neighborhoods need the same care. A checklist written for Oakland or San Jose doesn’t account for the Outer Sunset fog or the SOMA transit vibration. Use a San Francisco-specific schedule like the one in this guide.
- Resetting an electric gate opener by unplugging it repeatedly. If your opener trips its breaker, stops responding, or behaves erratically more than once, unplugging and replugging is treating the symptom. The underlying problem, whether it’s a failing capacitor, a corroded connection, or a bound gear, will get worse. Call a specialist after the second occurrence. If you have a BFT control board, repeated power cycling can actually damage the board, so this mistake has a real dollar cost.
When to Call a Professional
Some situations call for a phone call, not a checklist. If your bottom rail is soft to the touch or your hinge screws spin without grabbing, the repair is beyond homeowner maintenance and should be handled by someone who hangs gates for a living. If your electric gate trips its breaker, fails to reverse when blocked, or moves slower than it did a month ago, the electrical system needs a trained technician, not a reset. If your post is out of plumb by more than a quarter inch, the fix involves concrete work and re-hanging, which isn’t a weekend project. If your gate stopped latching entirely, treat it as a same-day problem, because an unlatched gate is a security and safety issue for the whole home. Gate Repair in San Francisco starts with a free estimate-call Latch and Post at (628) 227-2771. We answer every call with a live person, any hour, and we’ll give you a written price before any work starts.
Frequently Asked Questions
Run the four-checkpoint inspection every 3 to 4 months if you live in a high-fog zone like the Outer Sunset or Outer Richmond, and every 6 months in drier areas like the Mission or Noe Valley. Sealing follows a similar schedule but on a longer interval: every 4 to 6 months for fog zones, and every 10 to 12 months for sunnier neighborhoods. Call (628) 227-2771 if an inspection reveals anything off, and we’ll give you a free assessment.
Bottom-rail rot from fog moisture is the single most common gate issue we see in western San Francisco neighborhoods, while latch failure from dry wood shrinkage and dust grit dominates in the eastern half of the city. The neighborhood dictates the disease. Our free estimates cover both: call (628) 227-2771.
Yes, if the gate is in sound condition. Use a penetrating oil-based sealer in fog zones and a water-based exterior sealer in dry zones, and apply it to the end grain and bottom rail first. If the wood is already soft, sealing won’t help, and the damaged section needs replacement before you spend money on sealer.
Hold a level against the post on two faces. If the bubble sits outside the lines, the post is out of plumb. Also check for gaps between the post and any surrounding concrete, or visible cracks in the concrete base. A post that leans more than a quarter inch needs professional attention.
The fog damage is real and measurable. A cedar gate in the Outer Sunset with a painted or film finish can show bottom-rail rot within three years, while the same gate in Bernal Heights lasts a decade or more. The moisture doesn’t just sit on the surface; it wicks into the end grain and softens the wood from inside.
Most routine maintenance visits in San Francisco, including inspection, hinge tightening where possible, latch cleaning, and minor adjustments, run between $95 and $185 depending on the gate and neighborhood. The exact number is quoted in writing before any work begins. Call (628) 227-2771 for a free estimate on your specific gate, and we’ll give you a price you can see before you decide anything.
The Bottom Line
A useful San Francisco gate maintenance checklist isn’t a list of generic seasonal chores. It’s a zone-specific routine built around the fog exposure of your neighborhood, the four checkpoints that predict failure, and a written log that tracks change over time. The homeowner in the Outer Sunset and the homeowner in Bernal Heights own the same gate, but they maintain it differently, and that’s not a flaw in the gate; it’s a fact of living in a city with a dozen microclimates. Run the seasonal routine, seal on the right schedule for your zone, keep the log current, and know where the line sits between inspection and repair. When something crosses that line, call a specialist before it becomes an emergency, or explore more guides & resources to stay ahead of problems. That’s how gates last through San Francisco fog, wind, hills, and salt air without becoming a twice-a-year headache.
Written by Cody Beckman, Owner at Latch and Post Gate Repair San Francisco, serving San Francisco since 2009.
See the difference
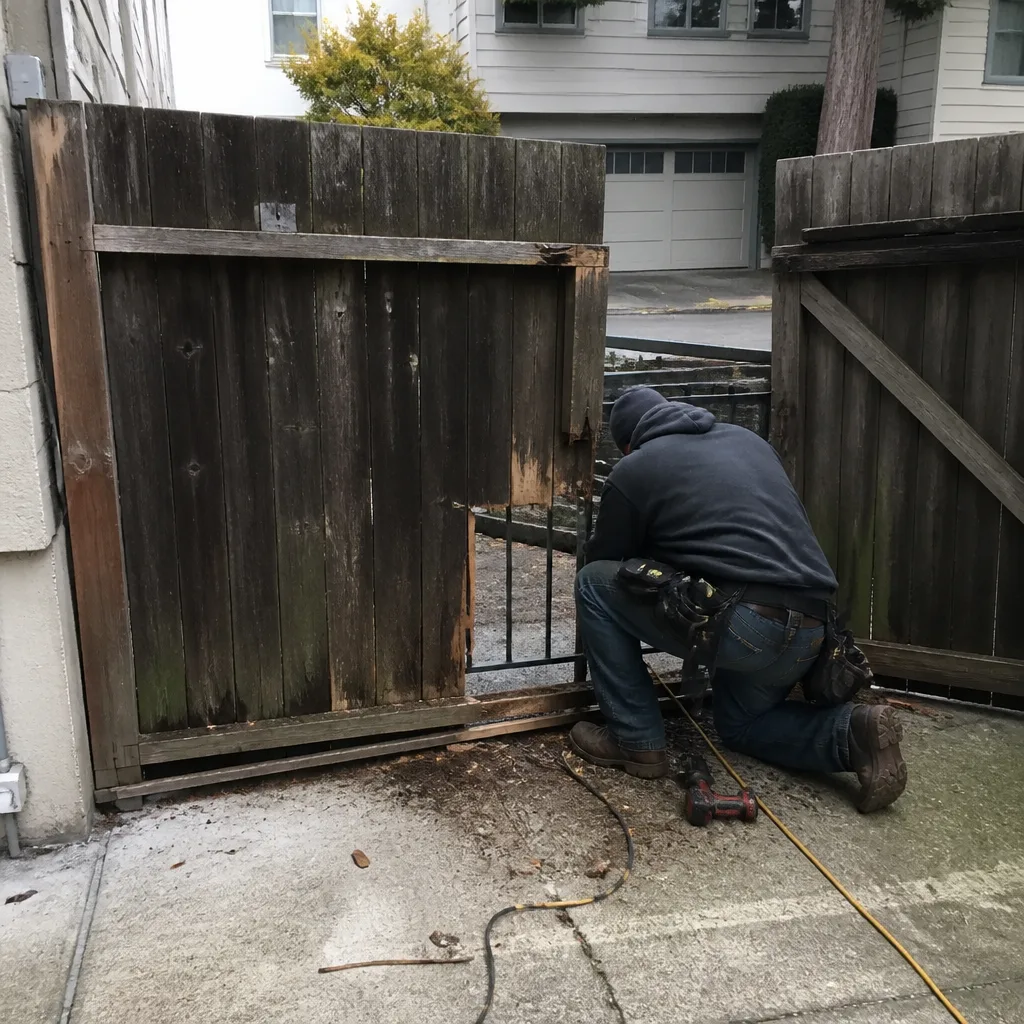 Before
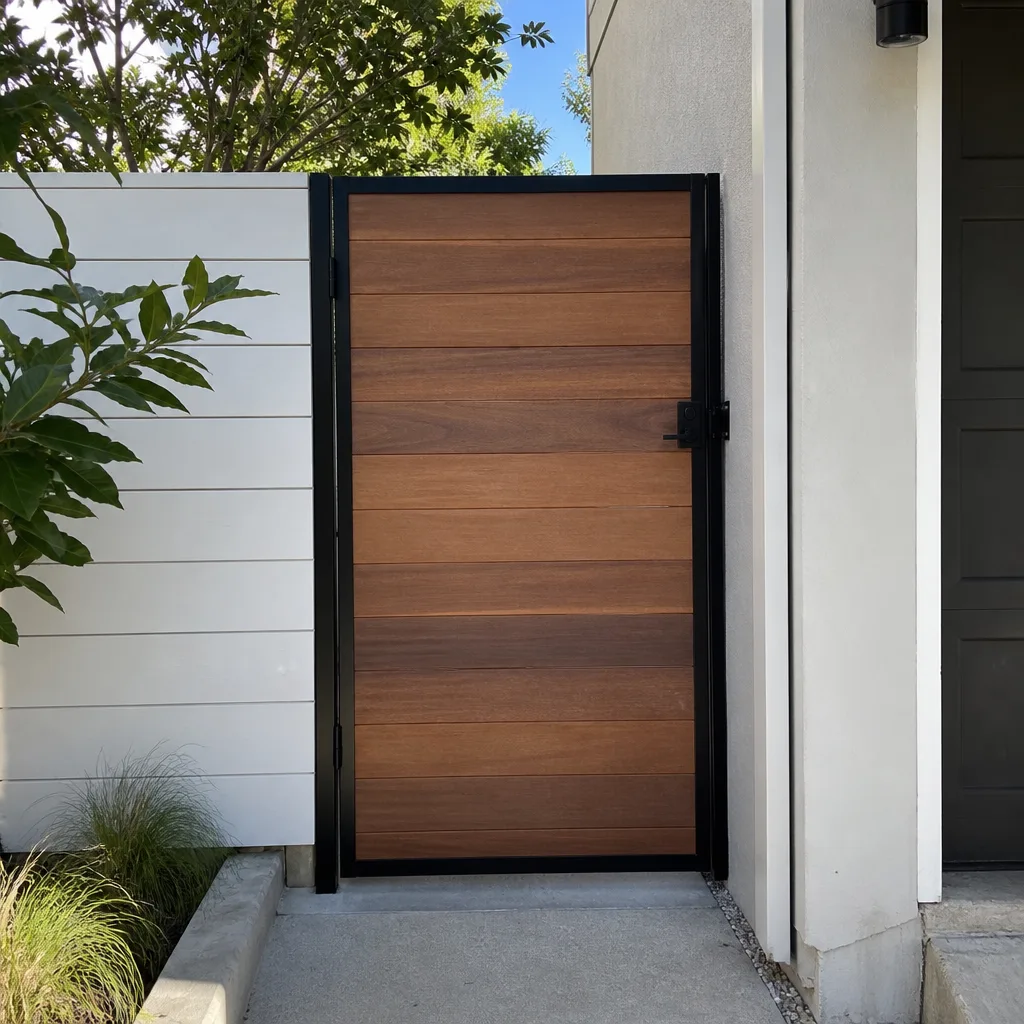 After
After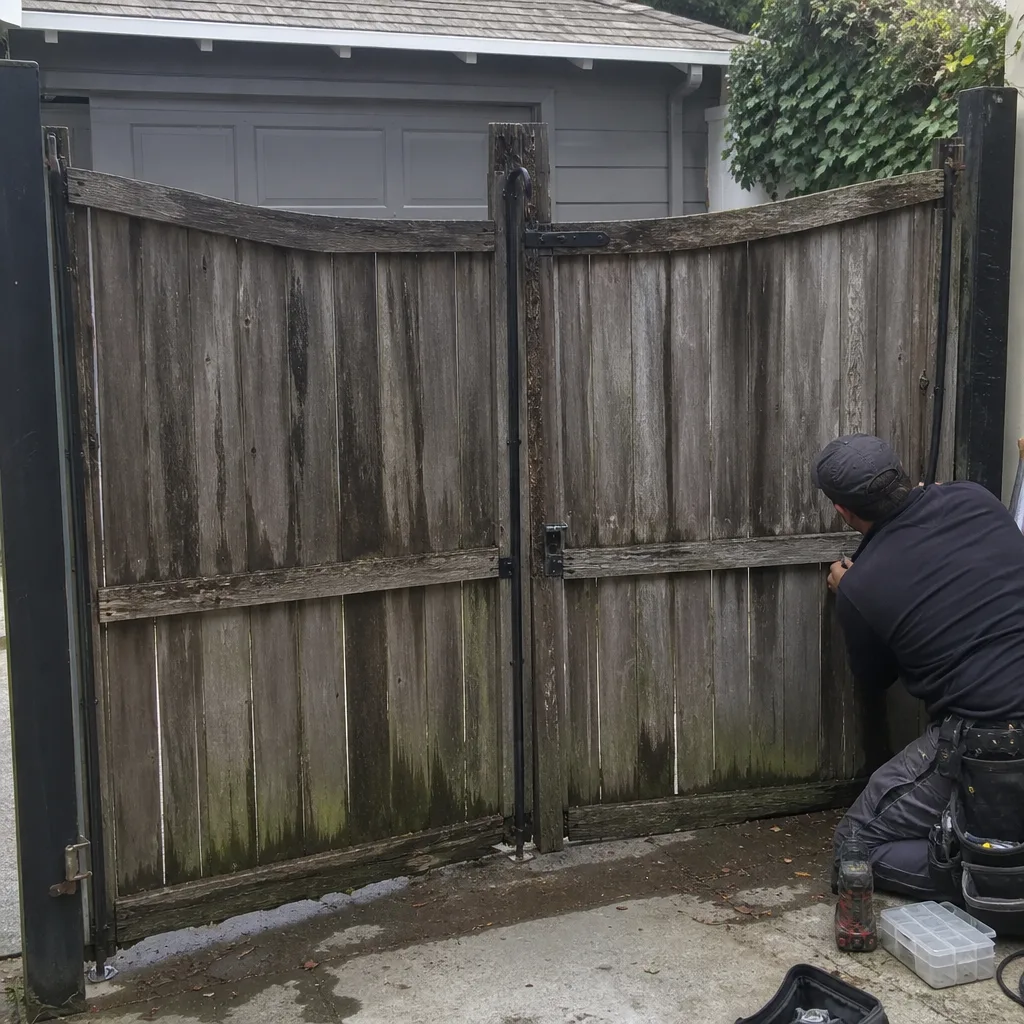 Before
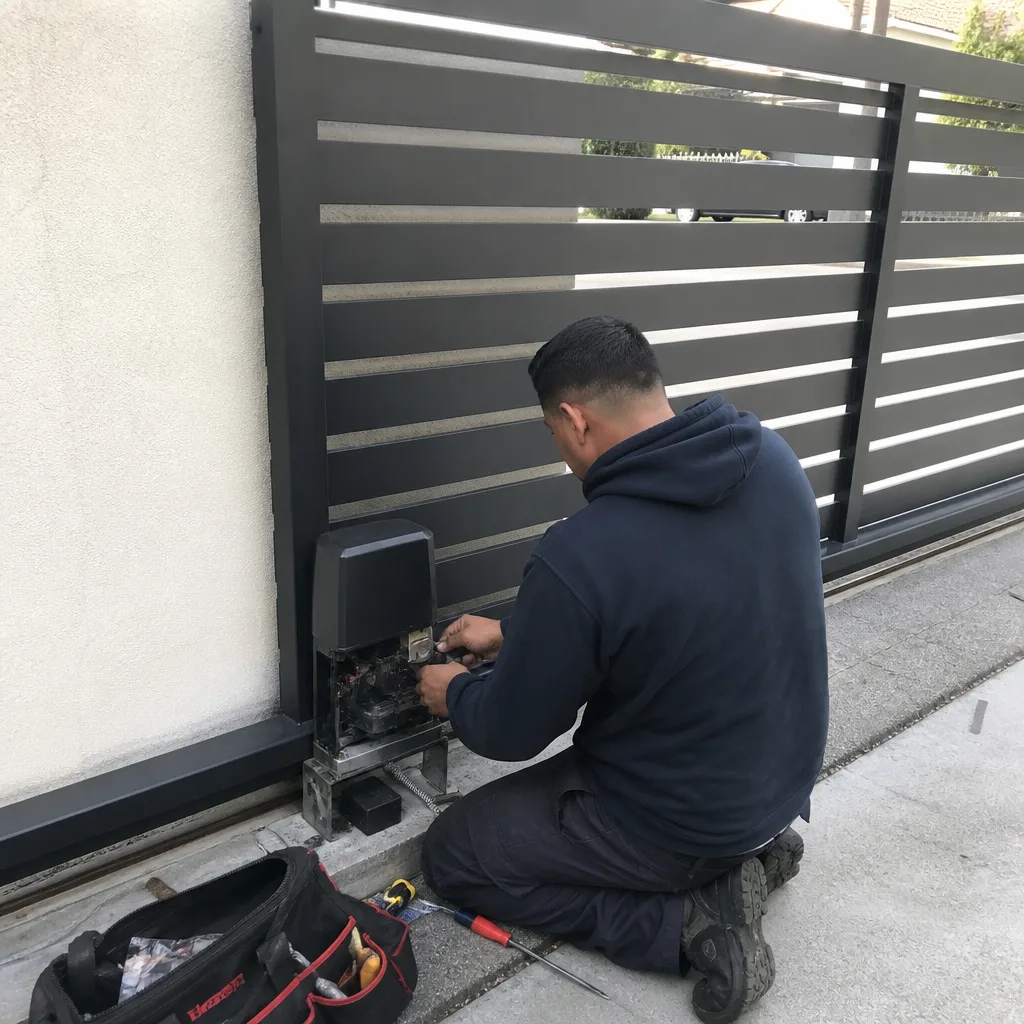 After
After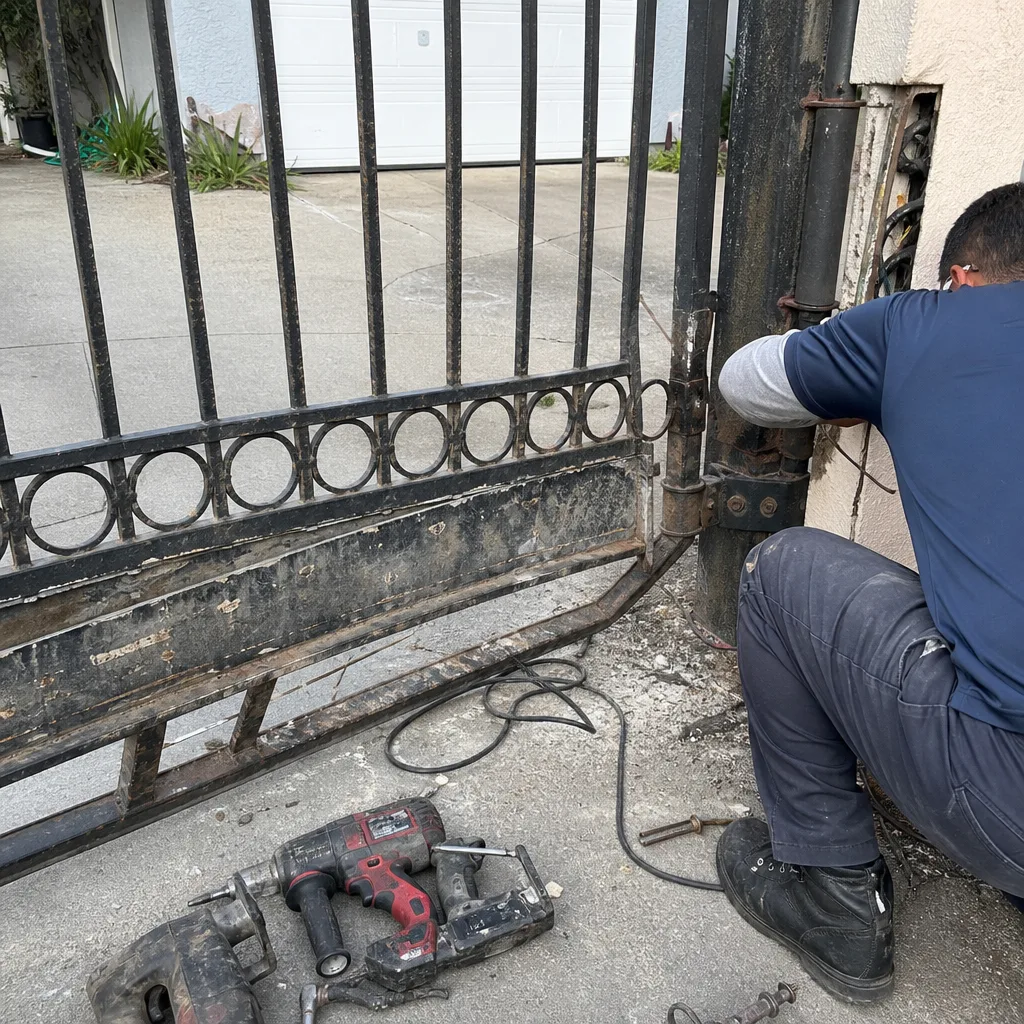 Before
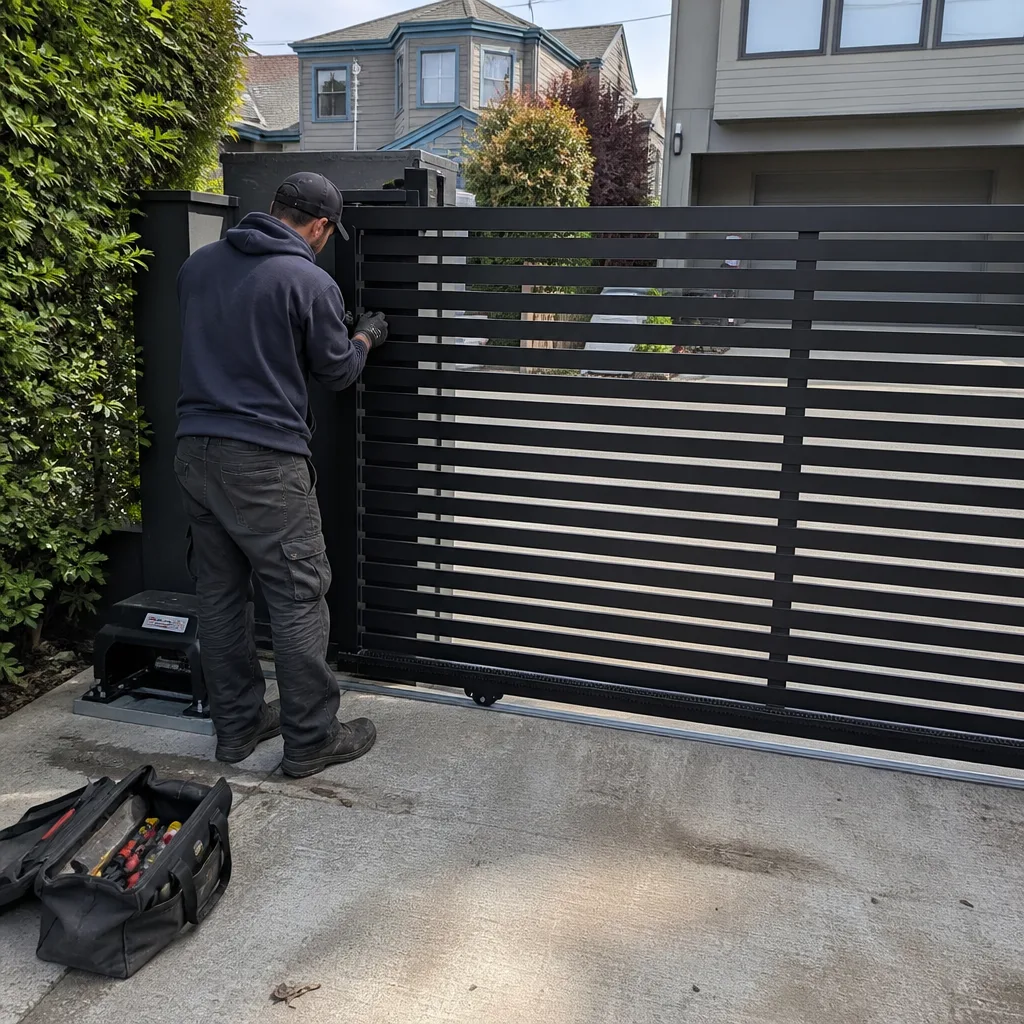 After
After