
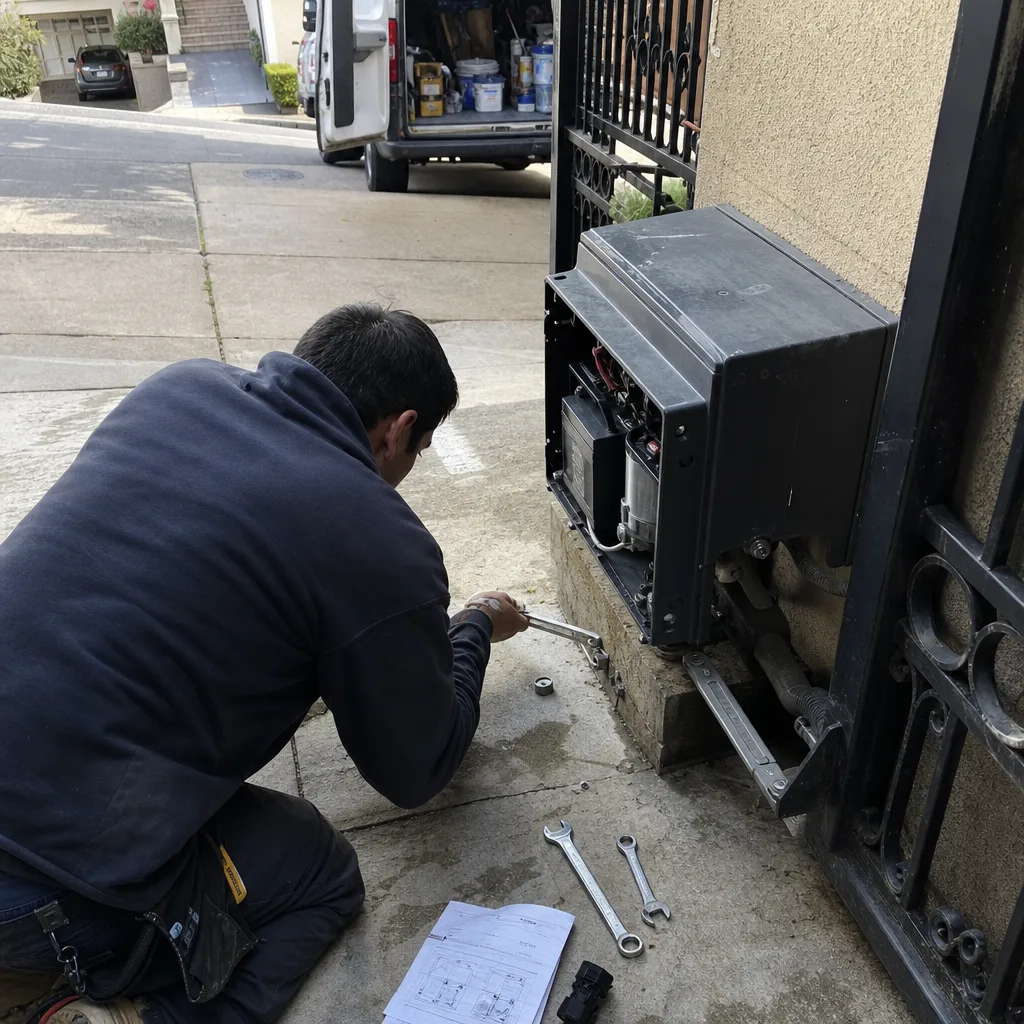
Last updated October 17, 2026
 Wrought iron
 Wood & steel frame
 Farm & ranch
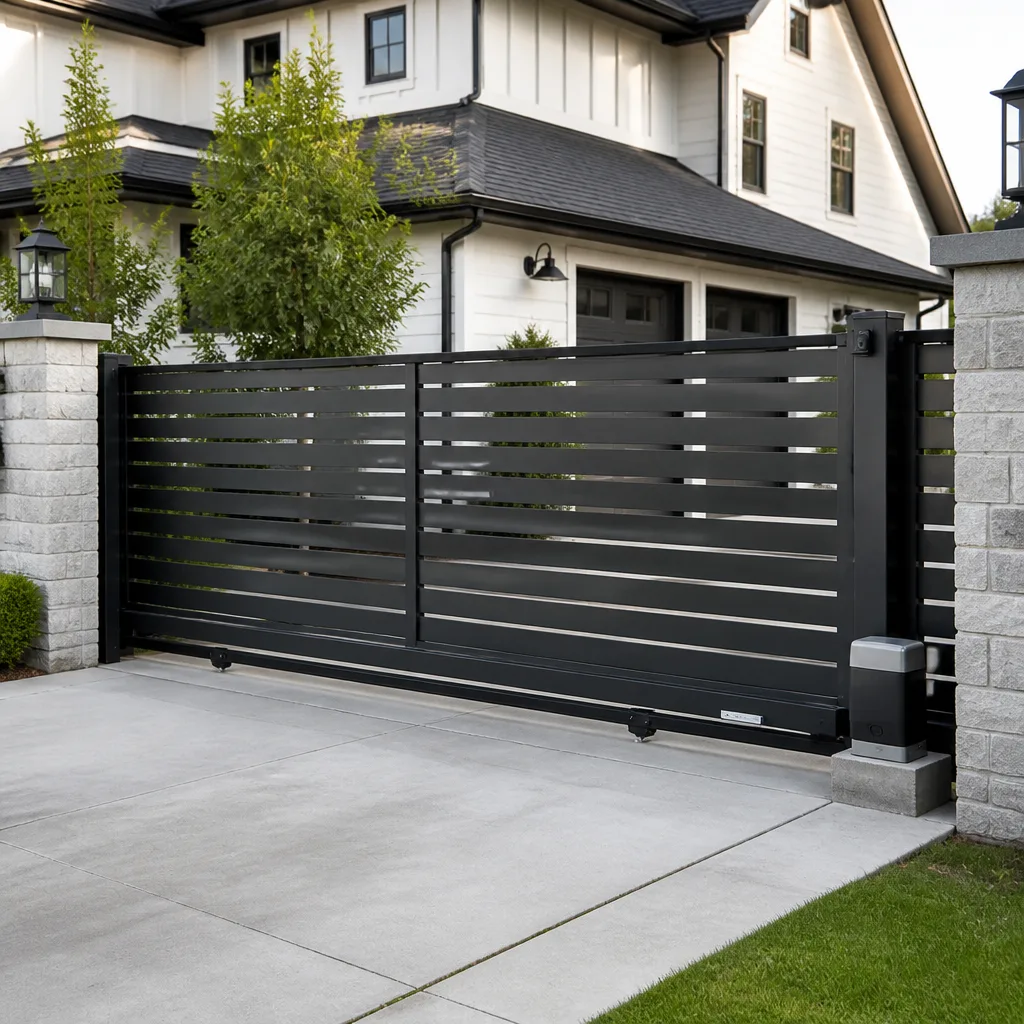 Sliding driveway gates
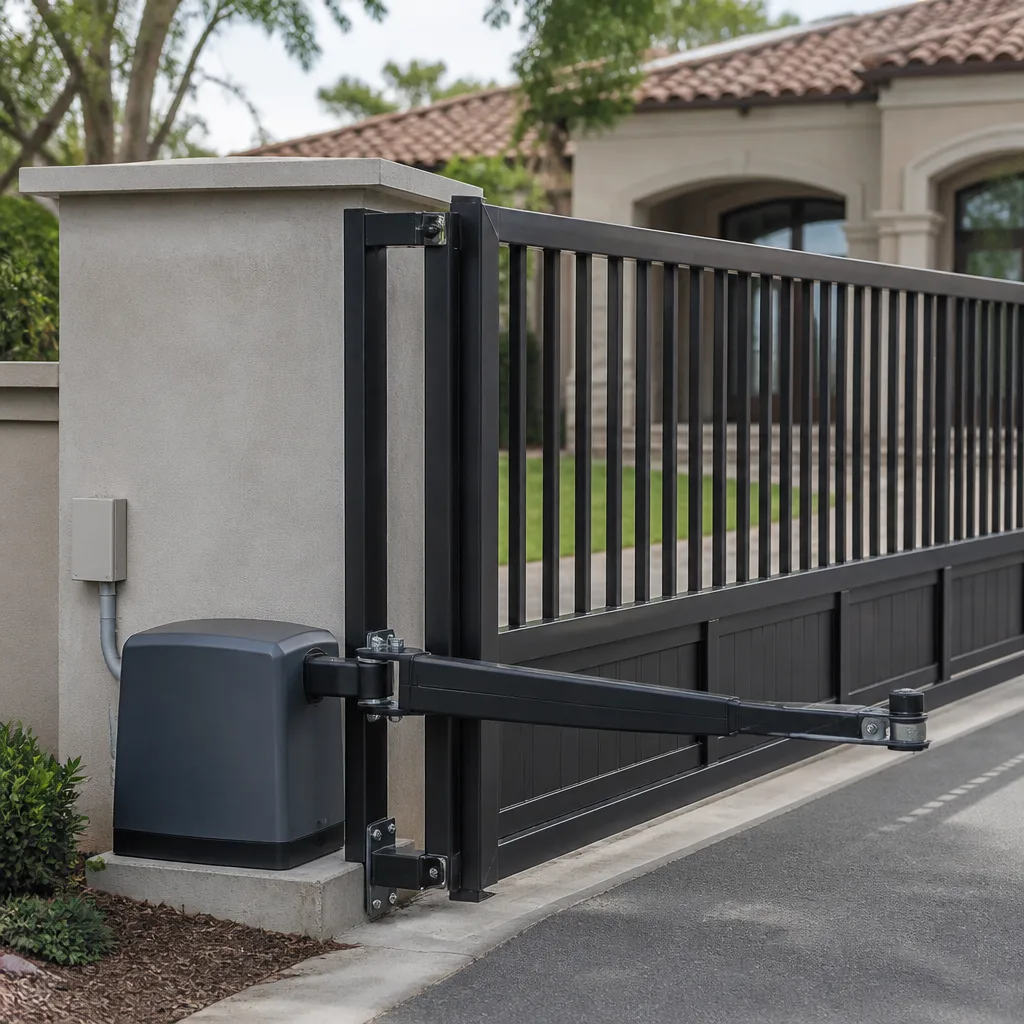 LiftMaster operators
Free on-site gate assessment - hinges, posts, and your LiftMaster or Nice gate operator checked before anything is quoted
The assessment is free and the quote is the invoice.
Get your free estimateDIY vs Professional Gate Repair: The San Francisco Homeowner’s Decision Guide
Here’s a number that surprises most San Francisco homeowners: in our experience, roughly one in three professional Gate Repair services calls starts with the same sentence – “well, I tried to fix it myself first.” Sometimes that attempt saved a little money. More often it added between $80 and $200 to the final bill because the technician had to undo the well-intentioned work before starting the actual repair. The question isn’t whether you’re handy. It’s whether this specific repair has a narrow enough tolerance that a near-miss makes things worse.
Styles & brands we work with
Quick Answer
Latch hardware replacement and simple hinge bolt tightening are reasonable DIY projects for a patient San Francisco homeowner with basic tools. Post resetting, frame re-squaring, and any work involving electric gate motors or wiring should go straight to a professional – amateur attempts at these usually increase the final repair cost by $80 to $200 because the technician must reverse the attempt before the real fix begins. The line is drawn at the repair level, not the skill level.
Table of Contents
- Why the DIY Question Is Really About Tolerance, Not Talent
- A Repair-by-Repair DIY Viability Matrix for San Francisco Gates
- The San Francisco Conditions That Quietly Lower DIY Success Rates
- Real Costs in San Francisco: DIY vs Professional on Three Common Repairs
- What Voids a 365-Day Done Right Promise (and How DIY Can Complicate It)
- How to Get an Honest DIY-or-Not Assessment Before You Spend a Dollar
- Common Mistakes to Avoid
- When to Call a Professional
- Frequently Asked Questions
- The Bottom Line
Why the DIY Question Is Really About Tolerance, Not Talent
A gate looks simple. Two posts, some hinges, a latch, maybe a motor. But the difference between a gate that swings smoothly and one that drags, sags, or won’t close is usually measured in fractions of an inch. A post that’s off plumb by three degrees translates to a latch that misses its strike plate by half an inch at the far end. A hinge that’s been shimmed with the wrong material wears out its screws within a season. And once a component has been moved, tightened, or “adjusted” incorrectly, the professional who comes later often spends their first hour reversing that work.
That’s the tolerance problem. Replacing a latch handle from the hardware store is forgiving – the old one comes off, the new one goes in, and if the screw holes don’t line up perfectly you drill a new pilot hole and move on. It’s a swap. But resetting a post that’s leaning on a Bernal Heights hillside is a geometry problem involving concrete depth, drainage slope, gate weight distribution, and the angle of the hinge plane. Get any one of those wrong and the gate works for a month, then fails again in a different way.
We’re not saying homeowners shouldn’t touch their own gates. We’re saying the conversation should start with which repair is being considered. The rest of this guide draws that line repair by repair.
A Repair-by-Repair DIY Viability Matrix for San Francisco Gates
In our years serving San Francisco homeowners, we’ve watched which repairs succeed as DIY projects and which ones almost always come back to us in worse shape. Here’s the breakdown, organized by tolerance level rather than difficulty.
Reasonable DIY Repairs (High Tolerance)
- Latch handle and strike plate replacement. This is the classic weekend job. The parts are standardized, the holes either match or can be re-drilled, and a mistake costs you a $15 to $30 part, not a failed gate system. Most hardware stores in San Francisco stock universal latch kits.
- Hinge bolt tightening and lubrication. If the gate still hangs square and the hinges just need the bolts snugged and the pivot points greased, this is a 20-minute job with a wrench and a can of spray lubricant. Watch for stripped threads – if a bolt spins without tightening, stop and call someone rather than forcing it.
- Gate wheel or roller replacement on sliding gates. If the wheel assembly is bolted on and the replacement matches the old one, this can be done at home. The caveat: you’ll need the gate supported while the wheel is off, and a heavy steel gate on a Richmond District driveway is not the place to improvise supports.
Professional-Only Repairs (Low Tolerance)
- Post resetting or replacement. Why: a correctly set post involves concrete with the right PSI rating, proper depth below the frost and moisture line (San Francisco doesn’t freeze deeply, but the wet winters and sandy soil in the Sunset demand deeper footings than inland), correct curing time, and precise alignment in three axes. An amateur concrete pour that’s out of plumb is worse than the original lean because it must be jackhammered out before the real fix.
- Frame re-squaring. Why: the “rack” of a gate – the geometric squareness of its corners – is often mistaken for a hinge problem. True re-squaring can involve removing pickets, adding a tension cable or turnbuckle, and re-fastening the frame with structural screws. Done wrong, the gate twists further.
- Electric motor replacement, wiring, or control board work. Why: this is where the danger and the cost both spike. A BFT or Viking motor wired into a residential panel involves line voltage, and getting the polarity or the capacitor wiring wrong can destroy a $400 to $900 motor in seconds. There’s also the safety edge and photoelectric eye alignment, which are not accessories – they’re what keeps a 400-pound gate from closing on a child or pet.
- Ghost Controls or Linear operator reprogramming after a power surge. Why: these systems store limit settings, force sensitivity, and safety reversal parameters in firmware. Guessing at those values doesn’t just make the gate act erratically – it can disable the auto-reverse function without any visible sign of failure.
The pattern here is straightforward: anything that involves the geometry of the gate structure (posts, frame) or electricity (motors, boards, wiring) is a professional job. Anything that involves swapping a standardized hardware part (latches, handles, wheels with matching replacements) is a fair DIY candidate.
The San Francisco Conditions That Quietly Lower DIY Success Rates
DIY guides written for a generic American suburb don’t account for what makes a gate installation different in San Francisco specifically. And those differences change the math on what’s sensible to try yourself.
Hillside Grade
A gate on a flat lot behaves predictably. A gate on a 15-degree incline in Noe Valley or Glen Park fights gravity in a way that amplifies every small error. The downward-sloping hinge side carries more weight than the inward side, which means post lean develops faster, hinge screws strip out sooner, and “just tightening things up” often pulls the gate further out of plane. We see this pattern constantly: an inclined driveway gate that was “tightened up” on a Saturday slides further out of alignment within three weeks because the underlying post footing was never addressed.
Painted Edwardian and Victorian Woodwork
San Francisco’s older homes often have gates custom-built to match the architectural millwork of the house itself. That means a broken latch or a cracked style rail isn’t a trip to the hardware store – it’s a matching problem. The profile of the molding, the paint color mixed in 1997, the specific grade of old-growth redwood. A homeowner who replaces a section of trim with off-the-shelf lumber from a big-box store ends up with a visible patch, and sometimes an HOA letter. This is where Gate Repair in San Francisco diverges from anywhere else in the country: the aesthetic standard is higher, and the buildings being matched are older.
HOA and Landlord Documentation Requirements
A meaningful number of San Francisco gates belong to two-to-four-unit buildings under HOA governance or to rental properties where the landlord requires documentation. When a professional repair is done, there’s a work order, a receipt, and a description of the fix. When a DIY repair fails and a tenant or neighbor complains, the homeowner has no paper trail. Some HOAs in the Marina and Presidio Heights specifically require that gate work affecting common access points be performed by an insured contractor. That’s not snobbery – it’s liability management, and attempting DIY in those zones can create a compliance problem that costs more than the repair itself.
Fog Belt Corrosion
The Outer Sunset and Outer Richmond sit in the fog belt, and everything steel or iron near the ocean corrodes faster than the rest of the city. A hinge bolt that looked fine in June may be rust-welded by October. Attempting to remove a corroded bolt without penetrating oil, heat, or an impact driver often ends in a snapped bolt head, which converts a simple hinge swap into a drilling-and-extraction job. Coastal San Francisco homes need stainless or galvanized hardware, and most hardware-store universal kits aren’t rated for salt air.
Real Costs in San Francisco: DIY vs Professional on Three Common Repairs
Let’s be specific about money. Here are three repairs we see every week in San Francisco, with actual cost comparisons. The DIY numbers assume you already own basic tools (drill, wrench set, level). If you’re buying tools for the job, add their cost to the DIY side.
Repair 1: Standard Latch and Strike Plate Replacement on a Wooden Walk Gate
- DIY material cost: $28 to $45 (universal latch kit, longer screws, maybe a new strike plate)
- DIY time cost: 1.5 to 2 hours, which at San Francisco’s average hourly private-sector wage of roughly $52 per hour equates to $78 to $104 of your time
- Probability a professional call still happens within 6 months: Low, under 20%, mostly due to misalignment that causes the latch to stick
- Professional cost (what we’d typically quote): $140 to $190, including the part, adjustment, and the 365-Day Done Right Promise
- Verdict: Genuinely reasonable DIY project. The risk is low and the worst-case correction cost is modest.
Repair 2: Leaning Post on a Sloped Outer Sunset Driveway Gate
- DIY material cost: $80 to $110 (two bags of quick-set concrete, a level, a post bracket, maybe lumber for temporary bracing)
- DIY time cost: 4 to 6 hours of labor, so $208 to $312 of your time at the SF wage figure above
- Probability a professional call still happens: Very high. In our experience, over 70% of DIY post resets on sloped lots come back for professional correction within a year
- Professional cost (what we’d typically quote): $380 to $560 for a single post reset and re-set, including concrete removal, correct depth, drainage gravel, and alignment
- Verdict: This is the trap repair. The materials are cheap, the YouTube video looks simple, and the actual job is a geometry-and-concrete problem on a slope. The amateur attempt adds $90 to $180 to the professional fix because the bad concrete pour has to be jackhammered out first. This is exactly the Outer Sunset scenario mentioned at the opening: spend $90 at the hardware store, then pay a specialist $180 more than if you’d called first.
Repair 3: Electric Gate Motor Won’t Respond (BFT, Viking, or Linear Operator)
- DIY material cost: Often $0 to $40 (multimeter readings, maybe a replacement fuse or capacitor), but sometimes $200 to $500 if the homeowner buys a replacement motor based on a misdiagnosis
- DIY time cost: 3 to 5 hours of troubleshooting, plus the risk of a line-voltage shock
- Probability a professional call still happens: Extremely high. Electric gate diagnosis requires knowledge of low-voltage limit switch circuits, capacitor start windings, and safety edge wiring. We’ve never seen a homeowner successfully replace a Viking or BFT motor based on internet research alone, and we’ve seen several who destroyed a new $500 motor by miswiring it before calling us
- Professional cost (what we’d typically quote): $180 to $320 for a service call and repair if the motor is salvageable; $700 to $1,100 for full motor replacement with the part included. Electric Gate Repair in San Francisco is not a place to guess.
- Verdict: Never DIY. The danger is real (line voltage, heavy moving gate), and the financial downside of a misdiagnosis is a destroyed motor or control board that costs more than the professional repair would have. In our experience, Viking and BFT board replacements after amateur wiring attempts run $300 to $600 over what the original fix would have cost.
What Voids a 365-Day Done Right Promise (and How DIY Can Complicate It)
The 365-Day Done Right Promise covers every repair and installation we do at Latch and Post Gate Repair. If it’s not done right, we make it right – no argument, no fine print. But that promise, like any legitimate warranty, has boundaries, and understanding them before you do DIY work around a professional repair matters.
- DIY work on the same component voids the coverage. If we replace a latch assembly and you decide to “adjust” it with a hammer or a drill a month later, the repair is no longer in the condition we left it. The promise covers our work, not modifications made after we leave.
- DIY work on an adjacent component can also void coverage if the failure is connected. Example: we re-hang a gate on new hinges, and you decide to dig around the post base the next weekend to “improve drainage” – if the post then shifts and the gate sags, the hinge repair was undermined by adjacent work. The claim would be denied, not because we’re strict, but because the repair didn’t fail – the post moved.
- How to preserve coverage while doing DIY: If you want to do your own maintenance (lubrication, bolt checks, handle swaps), do it before the professional repair rather than after, or ask us to note which components we’ll cover and which are outside scope. We’re happy to document that at the time of service.
- The safest approach: If the repair we performed is on a component you were considering touching yourself, call and ask before you do it. The phone line is free, and the answer might save you a warranty dispute later.
This isn’t about protecting our revenue. It’s about the physics of gates: a repair on a structural or electronic component is calibrated to the condition of the components around it. Change those conditions, and the calibration fails. The warranty follows the calibration.
How to Get an Honest DIY-or-Not Assessment Before You Spend a Dollar
Most gate companies won’t tell you when you don’t need them. We take the opposite approach because we’ve seen the $180-after-$90 pattern too many times. If a repair is genuinely DIY-reasonable, we’ll say so. If it’s borderline, we’ll tell you what to look for. And if it’s professional-only, we’ll explain why in plain terms.
Here’s how to use our phone line for a pre-spend assessment:
- Call (628) 227-2771 and describe the symptom in one sentence. “The gate drags on the latch side” or “the motor hums but doesn’t move.” A live person answers, 24 hours a day, every day.
- Tell us the gate type and approximate age. Wood swing gate, steel slide gate, chain-link drive gate, electric or manual. Age matters because hardware availability changes over time.
- Ask the direct question: “Is this something I can fix myself?” We’ll answer honestly, and if the answer is “maybe,” we’ll tell you what the first step would be and what failure would look like.
- If the answer is professional-only, ask for a written estimate. No charge for the estimate. The price you see in writing before work starts is the price you pay. No surprises, no pressure.
We’d rather spend ten minutes on the phone saving you a wasted Saturday than spend three hours on a Tuesday undo-ing the result. And honestly, the phone conversation often reveals whether the problem is what the homeowner thinks it is. Half the time, “the latch is broken” is really “the post has settled and the latch no longer aligns.” That distinction is worth a phone call by itself.
Common Mistakes to Avoid
- Using the wrong concrete for a post reset. Standard bagged mix from a hardware store is often too wet and too weak for a gate post carrying hundreds of pounds. Quick-set concrete is better, but even that must be mixed at the right consistency and cured before the gate is re-hung. Amateur pours in wet Outer Sunset soil fail within one winter.
- Tightening hinge bolts on a sagging gate without addressing the post. The bolts aren’t the problem; the post has moved. Crank the bolts tighter and you strip the threads or crack the wood, turning a $300 adjustment problem into a $600 replacement problem.
- Replacing one electric gate motor component without testing the safety edges. A BFT or Viking motor that “works fine” after an amateur capacitor swap may have lost its auto-reverse calibration. That’s the feature that prevents the gate from closing on a child or a dog. Working gate, disabled safety system, invisible failure. This is the most dangerous mistake on this list.
- Using indoor-rated extension cords or wiring for outdoor gate motors. San Francisco’s wet winters and fog-belt moisture demand outdoor-rated, UV-resistant wiring. Indoor wiring degrades in months, and the failure is often a short that fries the control board.
- Ignoring HOA rules about gate appearance or contractor requirements. In some San Francisco buildings, the gate facing the street is common property, not yours to replace without approval. A DIY replacement can trigger a compliance order, a fine, or a requirement to undo the work.
- Underestimating the weight of the gate before removing hinges. A solid wood gate in a Victorian building can weigh 200 pounds or more. Removing hinges without proper support leads to a fallen gate, damaged panels, and in the worst case, a crush injury. We use mechanical supports for a reason.
When to Call a Professional
Call a professional when the gate dips or drags on the latch side, when a post visibly leans, when the electric motor hums without moving the gate, when the safety edges or photocells stop responding, or when the gate has come off its hinges entirely. These are symptoms of structural or electrical failure, not maintenance issues. Latch and Post Gate Repair San Francisco home offers free estimates in San Francisco – call (628) 227-2771 and a live person will answer, any hour, any day. You’ll get a written price before any work begins, and the job is covered by the 365-Day Done Right Promise.
If you’re replacing an entire gate rather than repairing one, Gate Installation in San Francisco follows the same rules: free measure, written price, proper concrete work if posts are involved, and hardware selected for San Francisco’s specific climate.
Frequently Asked Questions
Most basic gate repairs in San Francisco run between $140 and $560, with simple latch and hinge work at the low end ($140 to $190) and post resets or structural re-squaring at the high end ($380 to $560). Electric gate motor and control board repairs typically fall between $180 and $320 for diagnosis and repair, or $700 to $1,100 for a full motor replacement. Every Latch and Post quote is written and provided before work starts – call (628) 227-2771 for an exact number on your specific gate.
Yes, if the posts are still plumb and the gate is square, hinge replacement is a reasonable DIY job – the key is matching the hinge pattern and using stainless steel hardware rated for fog-belt corrosion. If the gate sags or the post leans, new hinges won’t fix the underlying problem and you’ll be calling a professional within months-consult our Gate Repair Maintenance Checklist for San Francisco Homeowners to catch these issues early.
No. Electric gate motors involve line voltage, stored capacitor charge, and heavy moving gates – a wiring mistake can destroy the motor, damage the control board, or disable the safety auto-reverse without any visible sign. This is the one category where DIY attempts consistently cost more than the professional repair would have.
Most simple gate repairs don’t require a permit, but gate replacement that involves new posts, concrete footings, or changes to a street-facing elevation can trigger planning review in certain San Francisco neighborhoods. HOA-governed buildings often have their own documentation requirements, and we see homeowners surprised by these more often than by city permits.
Most latch, hinge, and minor alignment repairs take 1 to 2 hours on-site. Electric motor replacements take 2 to 4 hours. Post resets that require concrete removal and re-curing can involve a follow-up visit, since new concrete must cure before the gate can be re-hung. Call (628) 227-2771 for a time estimate on your specific repair.
It varies by building. Some San Francisco HOAs only care that the gate looks consistent with the original design; others require that any gate work touching common access points be performed by an insured contractor. Check your CC&Rs before starting any DIY gate work that’s visible from the street – compliance failures are more expensive than gate repairs.
The Bottom Line
The DIY-versus-professional decision for a San Francisco gate is not about how handy you are. It’s about which repair is being considered. Swapping a latch handle or tightening a hinge bolt is a fair weekend project with low downside. Resetting a leaning post, re-squaring a frame, or touching an electric motor is not – the tolerance is too tight, the San Francisco conditions too specific, and the failure cost too high. Before you spend a dollar at the hardware store, call (628) 227-2771 and ask the direct question. We’ll answer honestly. The call is free. The mistake isn’t.
Written by Cody Beckman, Owner at Latch and Post Gate Repair San Francisco, serving San Francisco since 2009.
See the difference
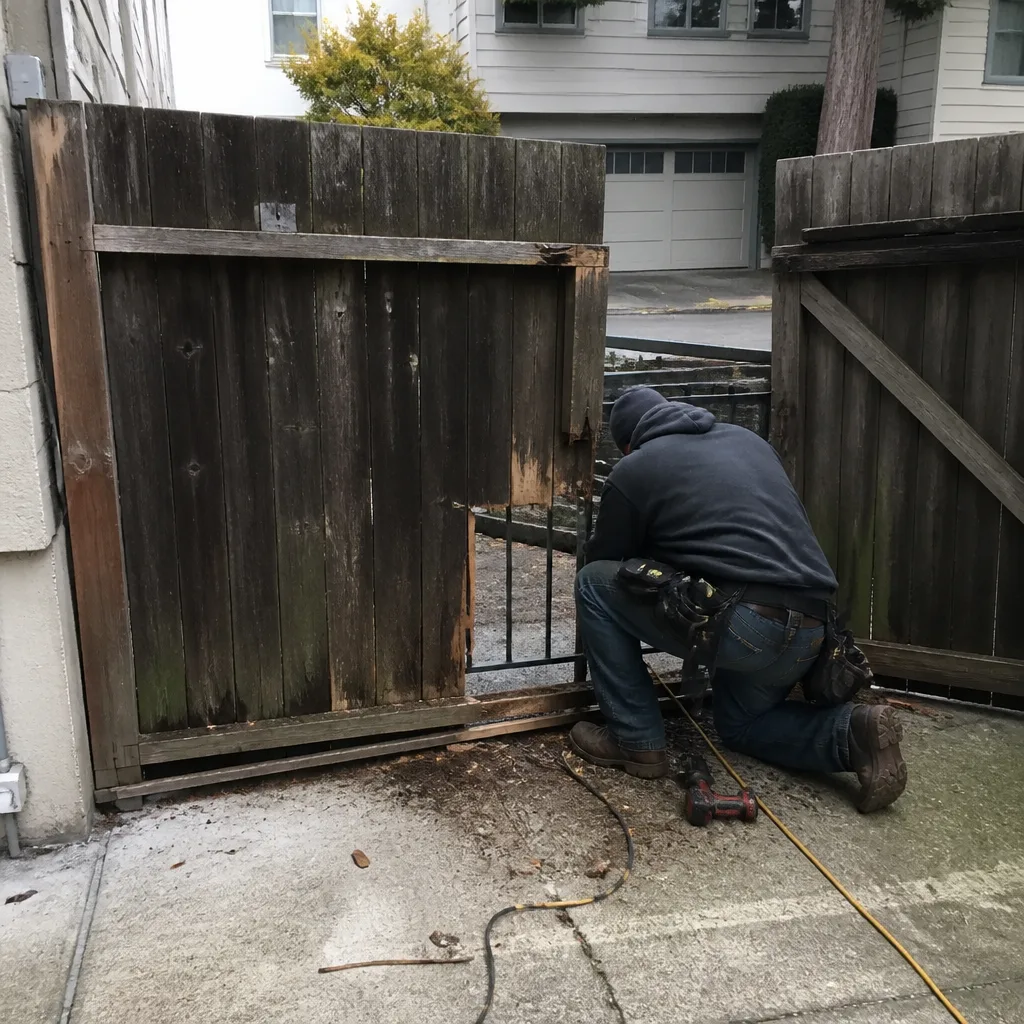 Before
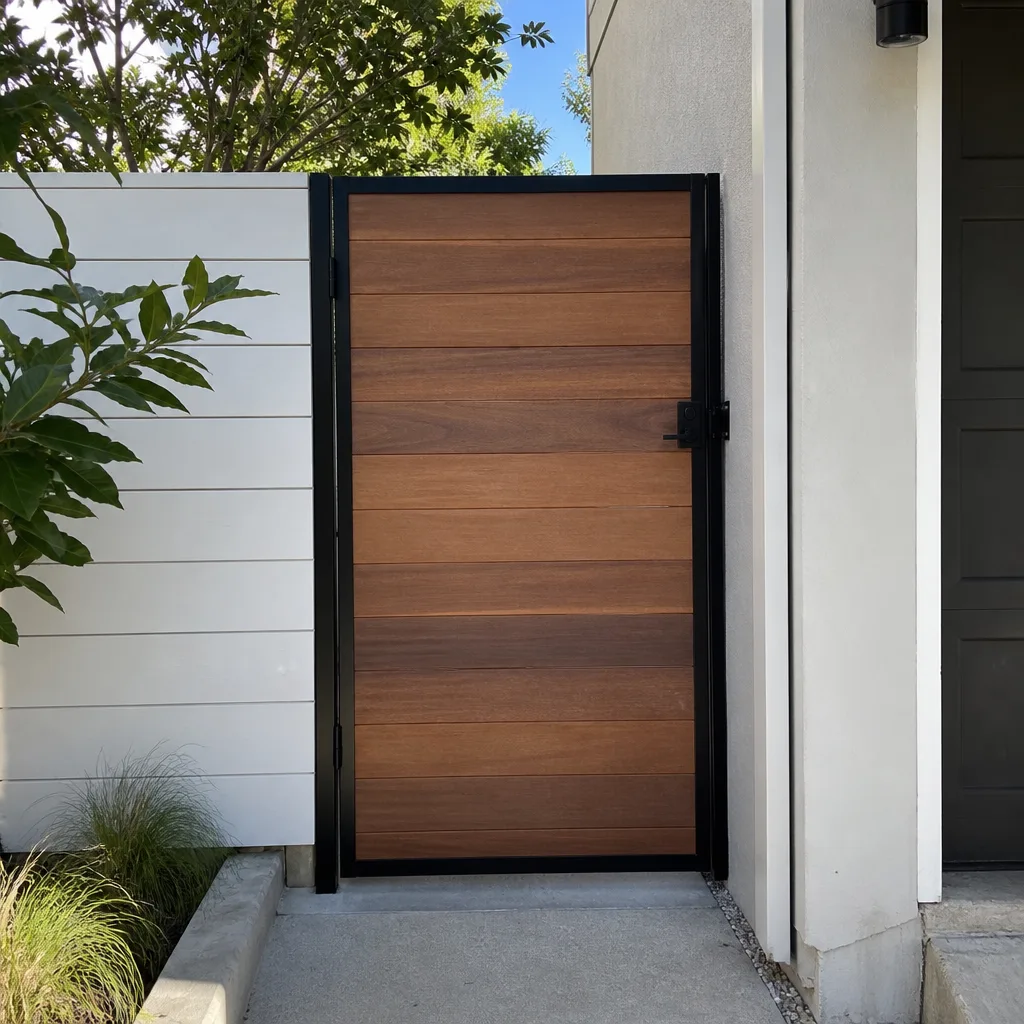 After
After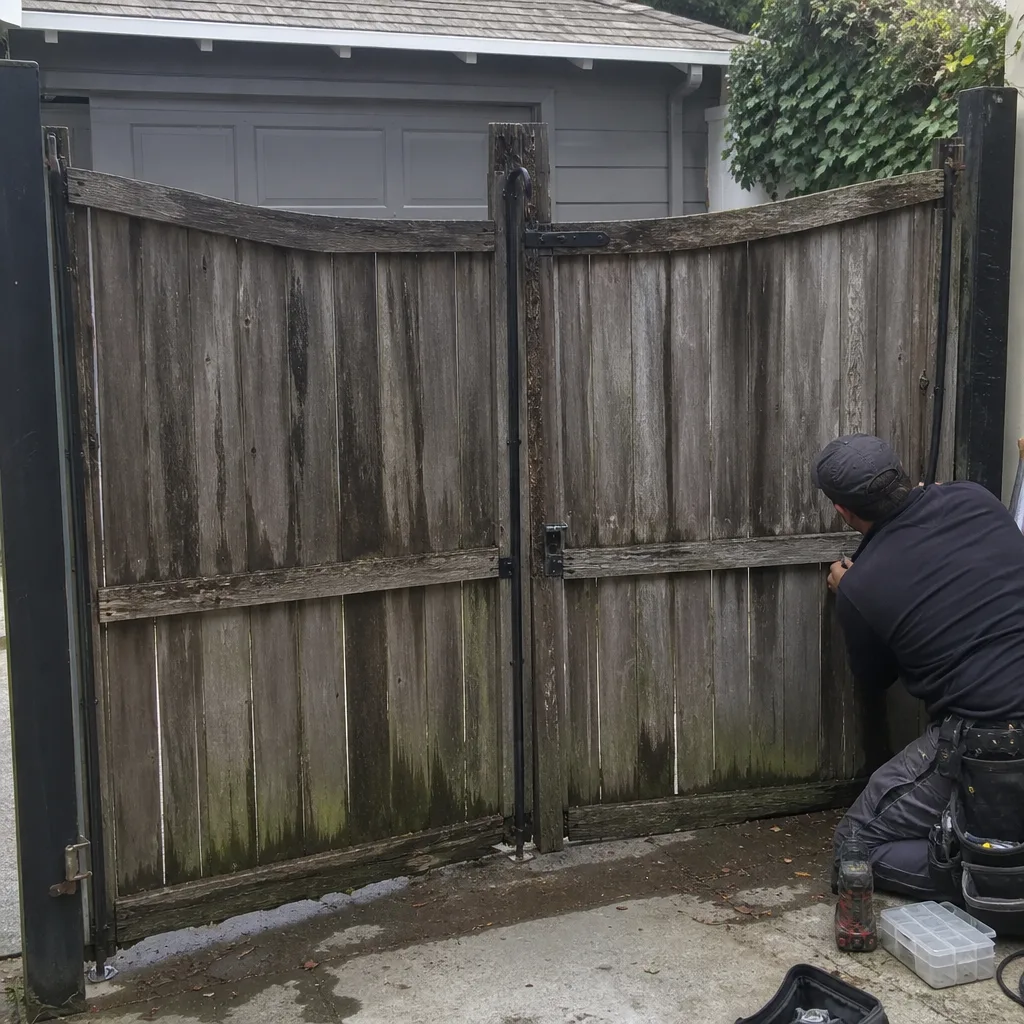 Before
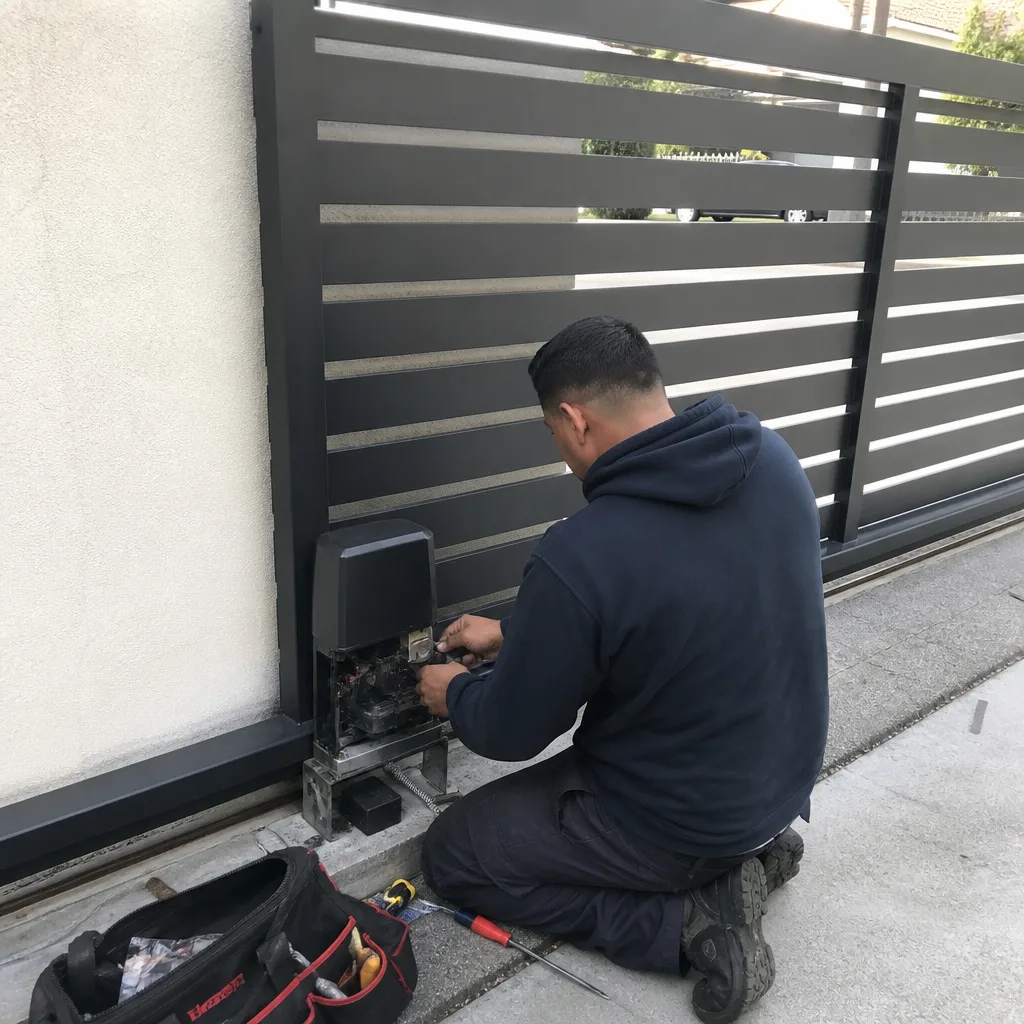 After
After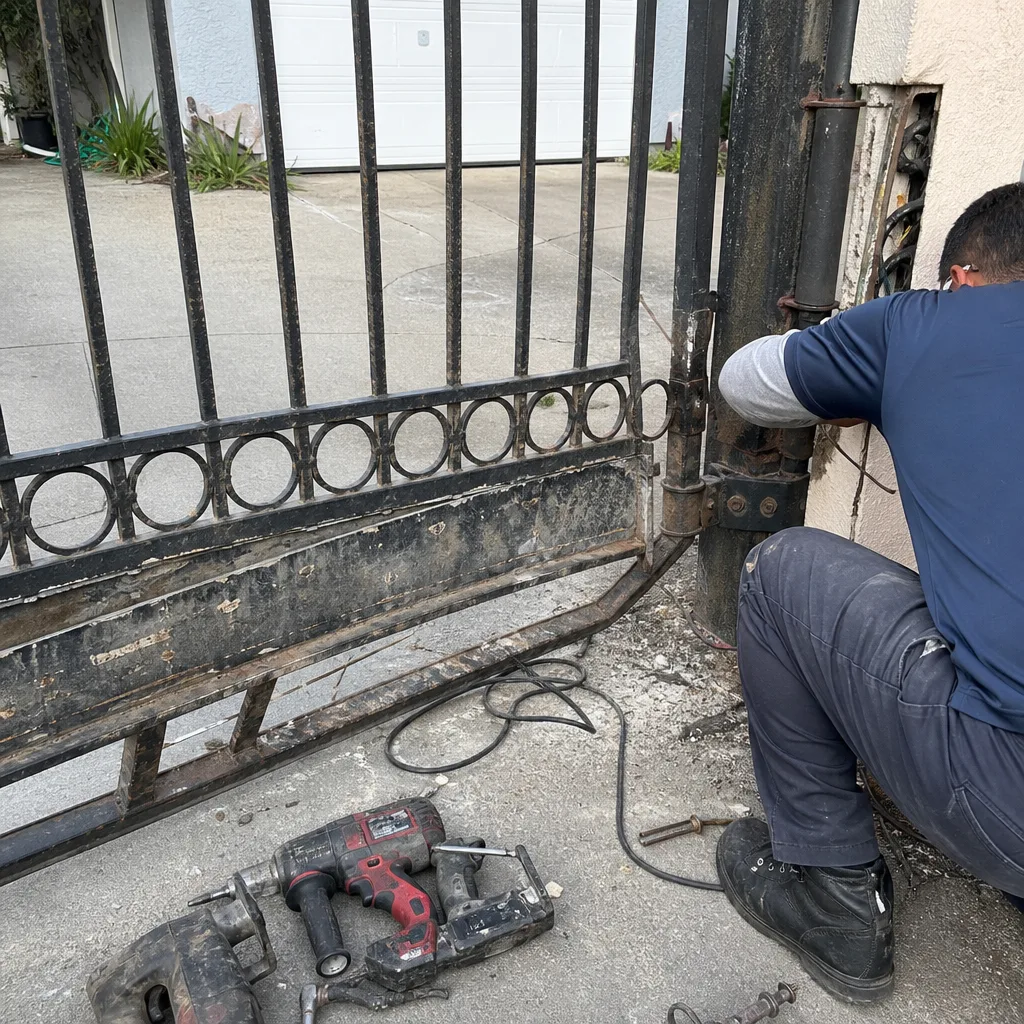 Before
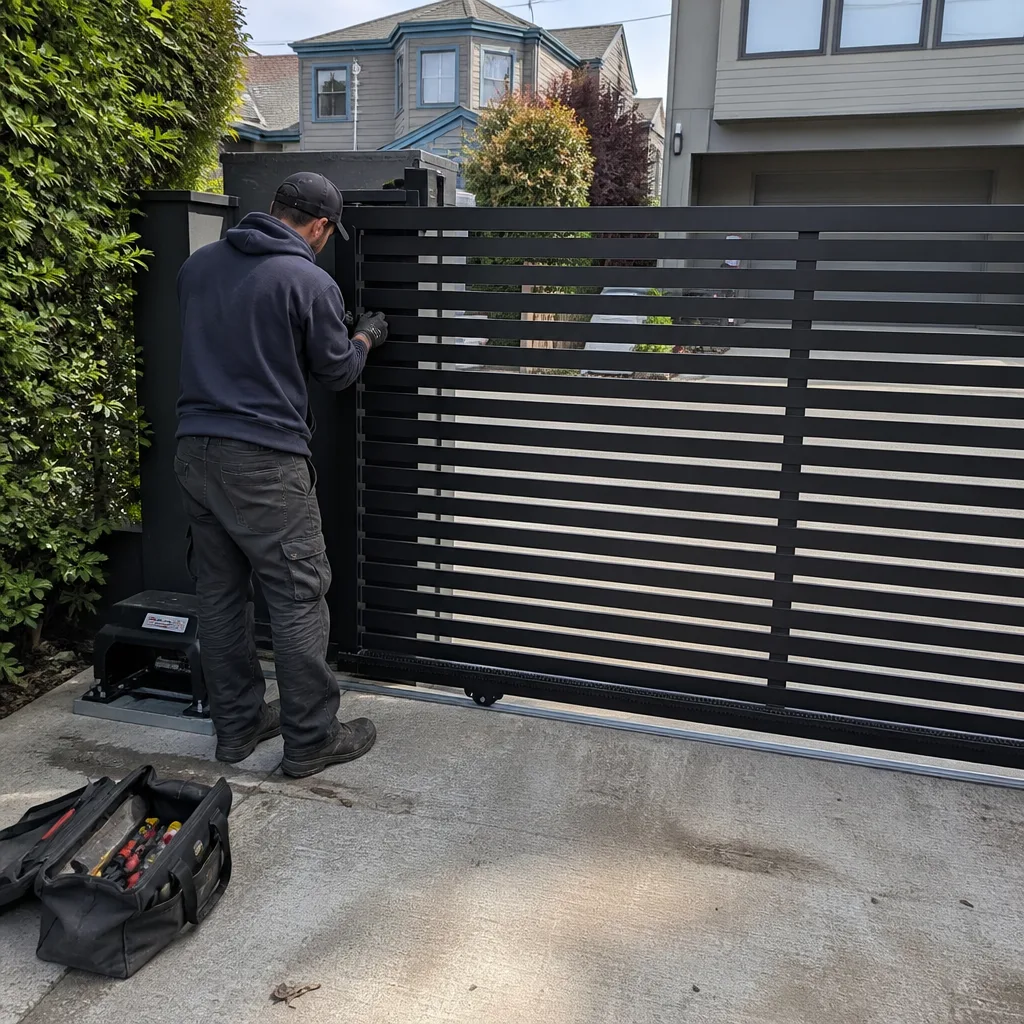 After
After